
Today I want to share some Valentine's day magnets that I made using salt dough. If you've never used salt dough before you're missing out. It's probably the easiest thing to make and work with, just make sure that everyone knows they are not cookies. Mistakes have been made in this house.

First you need to make the salt dough, and you should have everything on hand.
2 cups of flour
1 cup of salt
1 cup of warm water
Mix the flour and salt together, add the warm water and mix the ingredients together until a ball of dough forms. Roll out to any thickness, though thinner does work better.

I would aim for roughly 1/4 inch, or less if you can manage it. Once you have a thickness you are happy with use cookie cutters in whatever shape you want. I used a few different sizes of hearts. You can keep re rolling the scraps until you can no longer salvage enough to cut your shapes.

If you are planning on using any in a hanging craft, use a straw to make string holes. You can see below that I made holes in roughly half of the hearts, just poking near the top with a straw until the dough is removed into the straw. These will be used in a later craft, stay tuned!

Bake at 250 degrees for 1-2 hours. I baked mine for an hour and a half then turned the oven off and left the hearts in for the last half hour while the oven cooled. They probably could have used the full two hours, but watch for the bottoms getting burned.
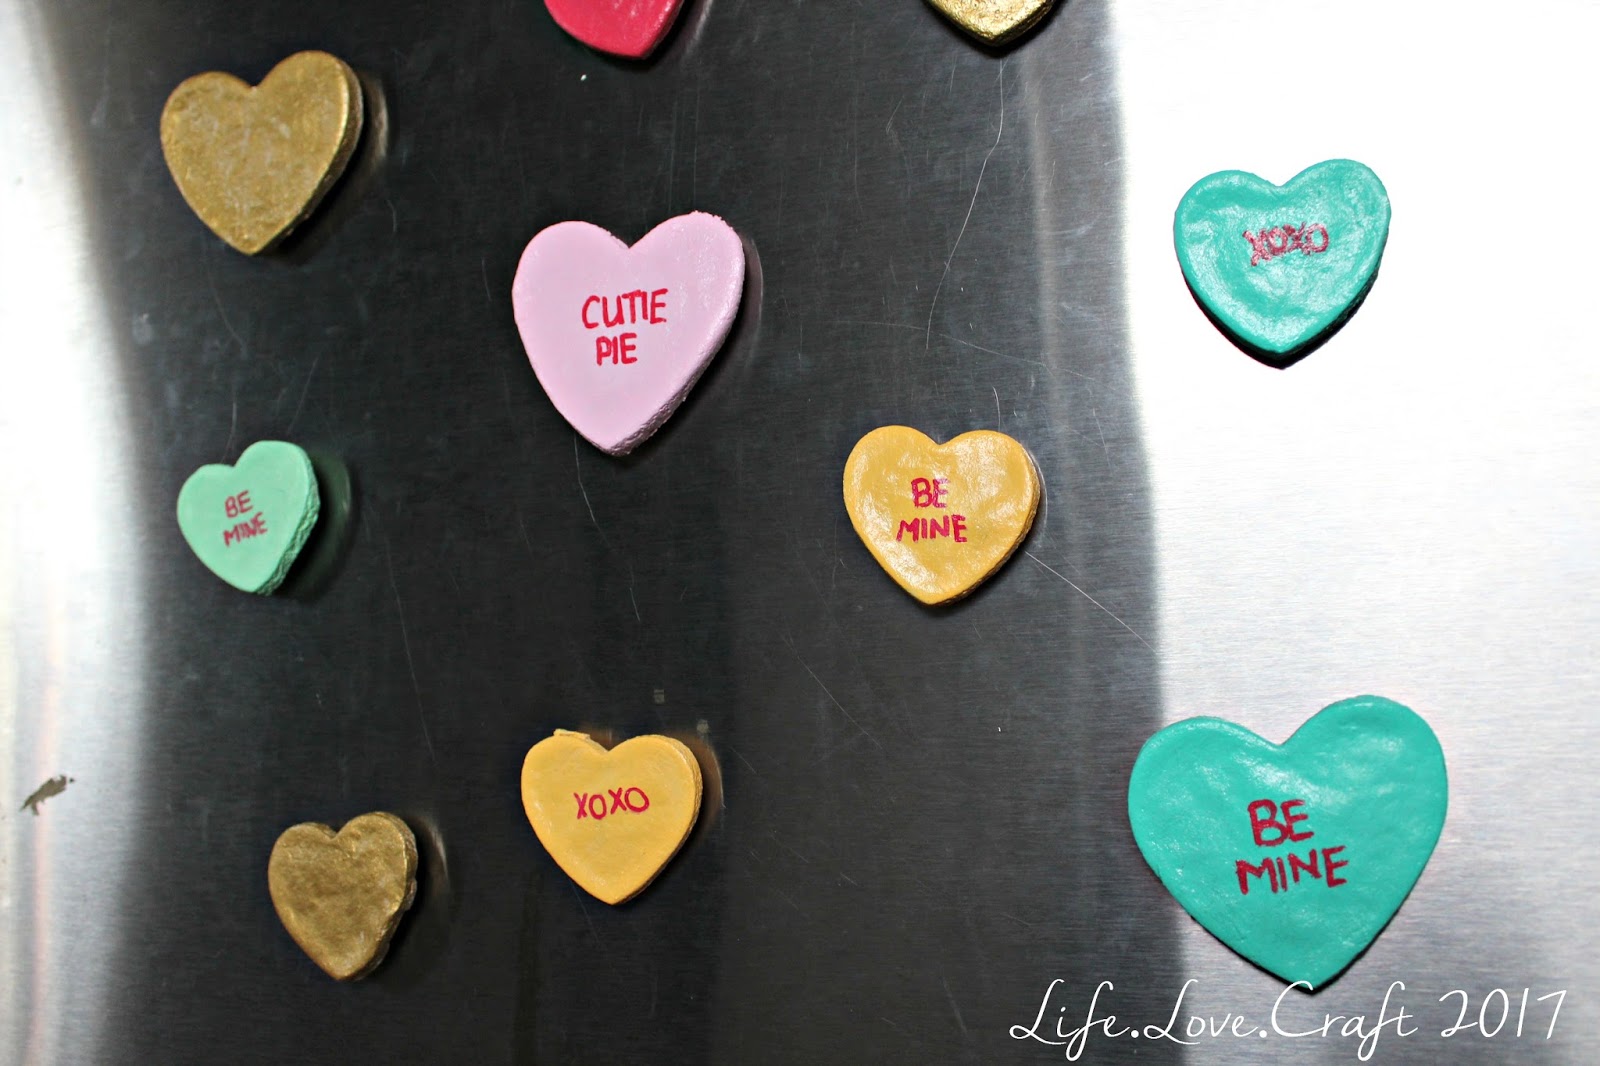
Let sit overnight and decorate however you like. I used some pastel colours for this craft as well as some paint for the other craft, planning on making conversation heart magnets. It ended up taking roughly three coats per side. I like to make sure that the salt dough is completely sealed with paint.

I'm sure you'll be very surprised to hear that the next step was to grab my red paint pen and write out the sayings on the magnets. I know, I'm as shocked as you are. I choose to stick with the basic sayings that you see on most conversation hearts, but you could get creative.

Next is a coat of Mod Podge on all sides and letting it dry. I used high gloss because that's what I had on hand, but I think matte might look better. Once dry glue magnets to the backs and let dry.
I didn't take any pictures of this step, but use tacky glue and larger magnets to support the hearts. I used hot glue because I didn't have tacky glue, don't do this. Especially if you are planning on these being gifts. These are just for us, so I deemed it safe enough. Plus, I couldn't get out to buy tacky glue.
These are pretty cute and would make fantastic gifts for grandparents or other family members. You can have the kids do thumb prints and date them as a great keepsake, and this is something you might want for your own fridge. Or you know, let them get creative and draw or write what they want.

A nice and easy craft, just how I like them. The whole craft took about a day including baking and drying time, with about an hour worth of effort. We will be making these again in the future, maybe next year, when the kids want to participate. I live for cute keepsakes like this.
Have you guys ever used salt dough to make magnets, or anything else? I'd love to see and get new ideas.
Kerby
Linking to:
Ginger Snap Crafts - Wow Me Wednesday #284
Two Chicks and a Mom - Funtastic Friday #112
eighteen25 - Show and Tell #7
These are adorable! Thanks for sharing them with us at Funtastic Friday :)
ReplyDeleteThese are adorable! Thanks for sharing them with us at Funtastic Friday :)
ReplyDelete