Hello and welcome to another post featuring Kaley and her first birthday...hopefully you can survive one more post on this topic. I know it's a lot, but I want to share some pictures of Kaley's cake smash in case anyone at home wants to try this.
For Braxton's cake smash pictures we hired a photographer, and I love them so much but they were very expensive (with a capital e). When you are off on maternity leave versus staying at home without any leave, things like this become a luxury. So I decided to try to take my own pictures for Kaley's cake smash. I know they aren't as good as professional pictures, but I think I'll keep the $400+ and call this good enough.
I kept the theme for her cake smash the same as her birthday party, and actually used almost all the same decorations. I threw a pink plastic tablecloth on the ground with a large peach-pink piece of fabric over top. I hung a white paper tablecloth on the wall and taped paper stars to the backdrop. To cover the two tablecloths meeting I used tissue poms along the wall and outer edges of the area. Add a pink cake with star sprinkles and gold star cake toppers and you have yourself a cake smash area.
You can see how all of the stars and tissue poms were used at Kaley's party here. I think that this worked well, but the area seemed much larger before I tried to take pictures. Next time, or if I had to do this again I would add more of a side to the backdrop so that I could take pictures on angles. Braxton just sat and played with the cake for his, but Kaley was running everywhere. It was difficult to get pictures of her because I had to constantly run her back into place and try to take a picture before she took off again. Thanks goodness for Luis.
Kaley did not like touching or eating the cake, but she sure wanted to run away with the tissue poms and stars. The cake toppers were much cooler than the cake too, and eventually had to be put up so that we could get her to pay attention to the cake. Silly girl. It's going to pretty much be pictures from now on, so enjoy our little goofball!
This was a lot of work to get the decorations and area ready, but so worth it. I love being able to look back at these and remember how little they were and how much they have grown. I'm a very sentimental person and things like this (and throwing birthday parties with tons of decorations) make me happy and feel like I will have a fond memory to look back at. As well as something for the kids to look back at as well.
That's it folks, the last time you will here the words "first birthday" on this blog. And I promise no more birthday post for at least 11 months, maybe 12 depending on how crazy life is. I saved the best picture for last, enjoy.
Kerby
Linking to:
Naptime Creations - Great Things to Make for Kids 1/31/17
Ginger Snap Crafts - Wow Me Wednesday #284
eighteen25 - Show and Tell #7
Hello, hello and welcome back! I am finally starting to feel the motivation and momentum to get things accomplished. I've had a list of little projects (crafts or small projects that don't require power tools) for years. And I am finally making a dent in the list! I know it doesn't seem like much, but I am very excited about this.
Today is a special day, I actually have a Valentine's Day related post! The first one in two years, and only the second I have ever done. I'm not a huge Valentine's Day person and have not made a big deal about it in past years, but with the kids I want to at least make an effort. Once they get into school it will be something to look forward to, so I can suck it up and do a few crafts for them. Like I need a reason, am I right?
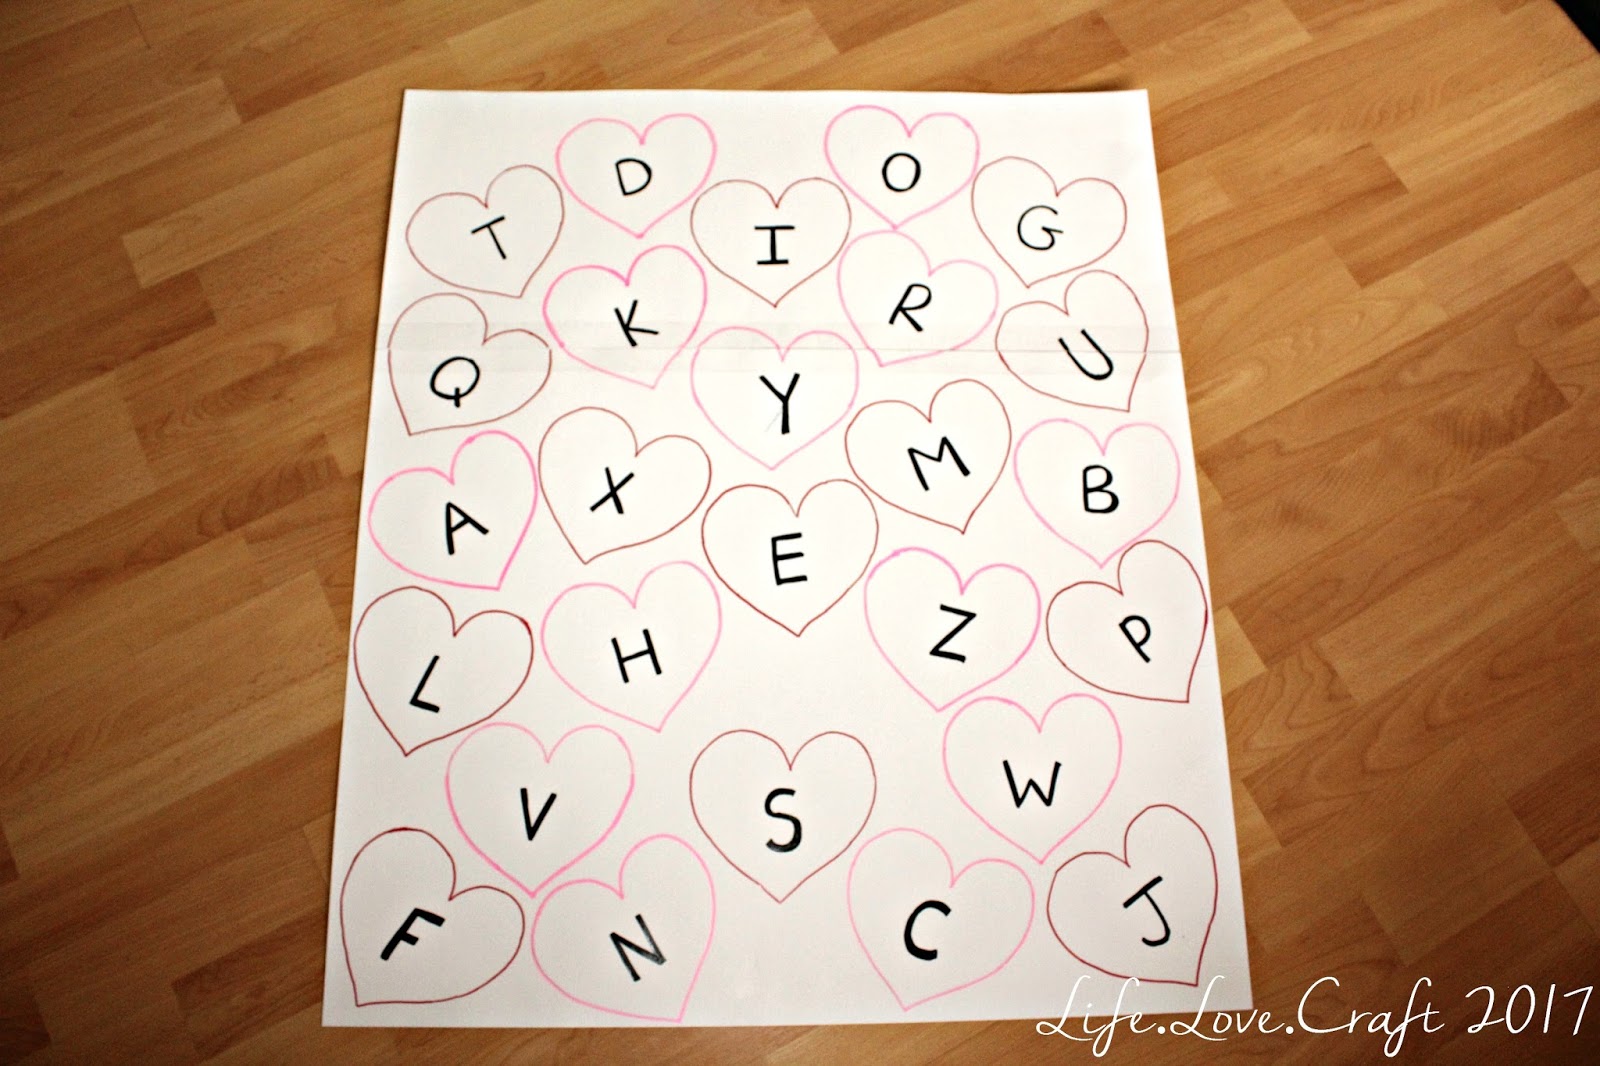
Anyway, back to the matter at hand. I have had this idea pop up on Pinterest for every holiday, different learning tools (alphabet, colours, numbers, etc...) and in every size, and with Braxton's LOVE of the alphabet it was an easy choice to make. I wasn't sure about the size I was going to make and was aiming for about the size of a Bristol board.
The supplies were minimal since I have so much on hand at all times, but here's a general list if you need one:
1-2 pieces of Bristol board (I used 1 1/2)
10-14 pieces of card stock
Markers (I used paint pens because I don't have markers)
Tape (depending on size)
First I cut out twenty six hearts on four different types of card stock, just free-handing the first heart and using it to cut the rest out. If you don't care about the hearts being perfectly the same, cut two or three pieces of paper at the same time. I chose to put the lower case letters on the hearts using a black paint pen, but a Sharpie would work too.
Then I used these hearts to trace onto the board, and because of the size of my hearts I used just under half of a second piece. If this happens to you, just tape the two pieces together with packing tape after you are finished writing everything on the boards. Again I used paint pens to make the hearts red and pink, the used the black paint pen to put the upper case letters in the hearts.
Now step back and watch your toddler go! I set this up while Braxton was busy in his room so when he came downstairs he was so surprised and excited. He didn't even need me to tell him what to do, he just went right for it.
Singing the alphabet while they work and making the sounds the letters makes this a fun and educational toy. The best part? It cost me less than $2 to make because I had everything I needed except the Bristol board. I love being able to make learning fun for the kids and every chance I have to expose them to the alphabet, numbers, colours (you name it!) I will take.
I am sure that Braxton loves these types of toys and learning tools so much because we are constantly exposing him to them and playing with them ourselves. It's never too early to start the foundation that they will need once they get to school. Okay Mom voice over now.
And I never feel bad about a cheap and easy craft, especially one that helps my kids learn! I haven't let Kaley near it because I am 100% certain she will rip everything into little pieces. A great alternative is to buy the foam hearts at the dollar store, that way they can't rip them easily. I didn't see them until after I had cut the hearts out already, but will definitely use them in the future because I am sure I will be making more of these for Kaley.
Now you have a fun way to incorporate something educational into Valentine's Day for your toddlers. Let me know if you try this out and what you change. Stay tuned for what I used the last little piece of Bristol board for! I bet you can guess, but still, come back and see.
Kerby
Linking to:
Two Chicks and a Mom - Funtastic Friday #111
Naptime Creations - Great Things to Make for Kids 1/31/17
Ginger Snap Crafts - Wow Me Wednesday #284
eighteen25 - Show and Tell #7